
How to Blow-dry Natural Hair: The Ultimate Guide. Blow-drying natural hair is a difficult task. It can be hard to find the right products; the process can take time; and it’s not always easy to get the perfect look. Below are some tips for blow-drying your natural hair with a round brush and thermal protectant.
Start by sectioning your natural hair into four sections: top left, top right, bottom left, and bottom right. Now spray your thermal protection or heat protectant onto your ends and work your way up to the top of each section. Next, section off a small amount of hair from each of these sections with a hair clip or tie; this will allow you to dry them one at a time without over-drying them in the process. After applying heat from the dryer for about two minutes per section, use an oil or cream to seal in moisture before releasing the clips and moving on to the next one. When all sections have been dried using this technique, you can recombine them into a.
Know Your Hair
Type
Before you blow-dry your natural hair with a round brush, start by knowing what type your hair is. There are four types of natural hair: kinky, curly, wavy, and straight. Knowing the type of hair you have will help you know how to style it! If your hair is curly or wavy, use a round brush to smooth the curl while blow-drying. If your hair is straight, use a round brush to minimize fizziness.
Process of Blow-Drying Natural Hair
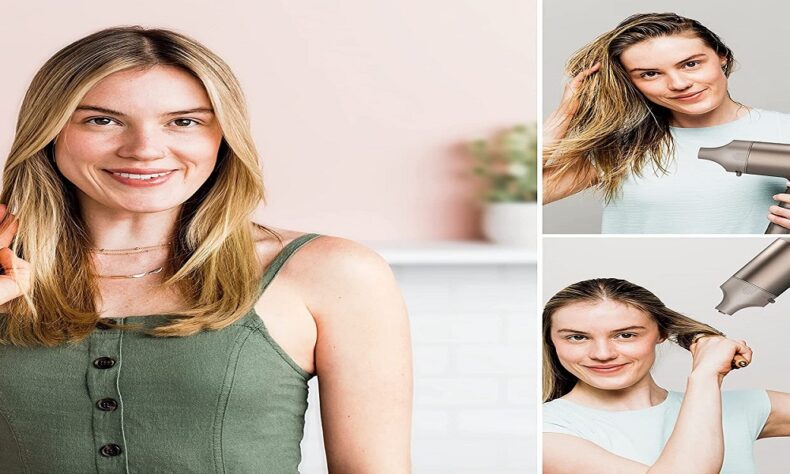
Blow-drying natural hair can be a challenge. One of the best ways to get natural-looking curls is with a round brush and a blow dryer. To start, section your hair into four sections: top left, top right, bottom left, and bottom right. Next, apply a heat protectant or thermal protection product to the ends of your hair. This will help keep heat from damaging your locks while you’re styling them. Afterward, curl each section individually with a clip or tie to keep it from being over-dried in the process. Once all sections have been dried using this technique, recombine them into a ponytail or braid for the finished look.
Blow-Drying Tips
Now that you know how to blow-dry your natural hair, it’s important to understand some tips for the process.
Keep a spray bottle of water nearby in case you need to cool off your hair halfway through the process.
Use a brush with bristles that are suitable for your hair type.
Condition your hair before you start. This will cut down on frizz and give your hair a smoother texture when it is dry.
Section off a small amount of hair from each section with a clip or tie so they can be dried one at a time without being over-dried by the heat from the dryer in the process.
Conclusion
This guide is an overview of the process for blow-drying natural hair. It has been created to provide you with enough information to start your hair care routine off on the right foot. Once you know your hair’s texture, density, porosity, and curl pattern, you will be able to customize your hair care routine to suit your hair type.
Blow-drying natural hair can be a difficult process because the natural oils that the scalp produces to keep the hair moisturized are lost. Because of this, it’s important to use products that will keep your hair moisturized, such as silicone-based conditioners, coconut oil, moisturizing masks, and other oils.
You should also use protective styling products to combat the effects of daily wear and tear on your tresses.
The size of your blow dryer should be based on the length of your hair. The smaller-sized blow dryers are perfect for shorter lengths, while the medium or large ones are ideal for longer lengths.
Conclusion: Blow-drying natural hair can be a difficult process because the natural oils that the scalp produces to keep the hair moisturized are lost. Because of this, it’s important to use products that will keep your hair moisturized, such as

Shalesh Tiwari ! MD in sk digital media pvt ltd and guest blogger